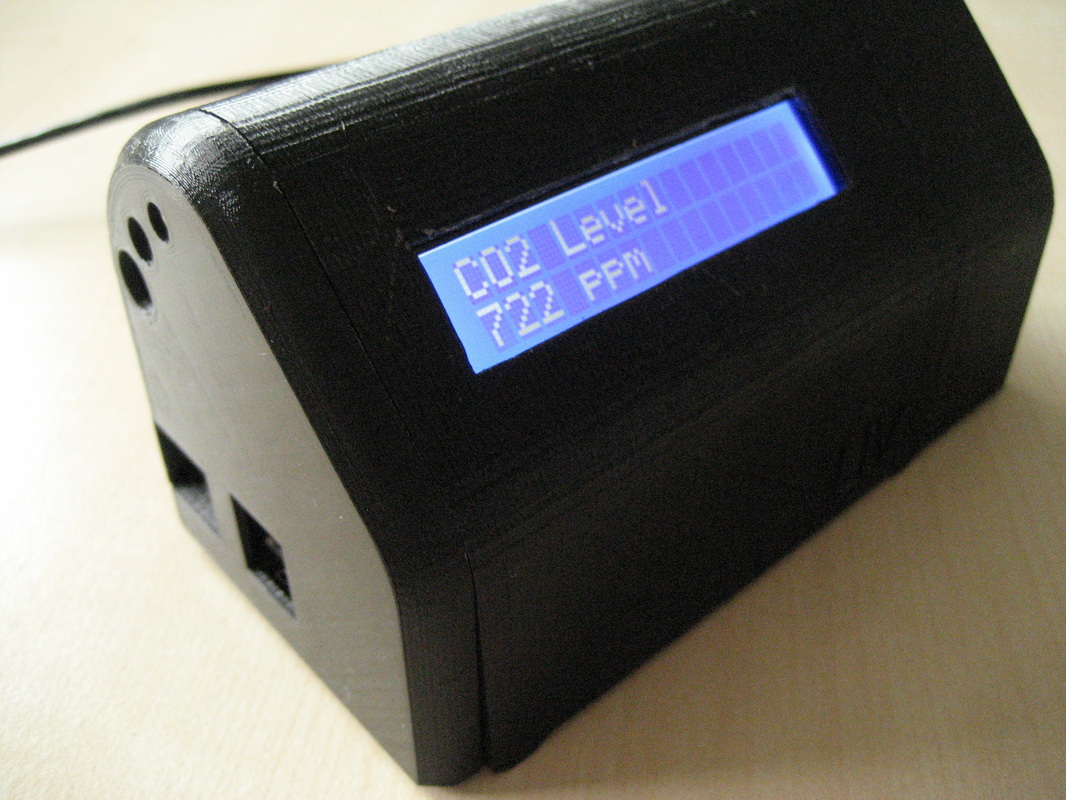
3D Printed Case
This case was designed for the older Raspberry Pi model B. If you have access to a 3D printer you can print your own case. Depending on your settings, please be advised that it might take up to 13 hours for the three parts to complete. Feel free to modify the case so that it works with the Raspberry Pi models B+ and 2. This boils down to moving around port openings (Ethernet, USB, HDMI, sensor ports, etc...) on the back and one side of the box. All 3D printing related files are checked into GitHub here. Please consider sharing your work.
This case was designed for the older Raspberry Pi model B. If you have access to a 3D printer you can print your own case. Depending on your settings, please be advised that it might take up to 13 hours for the three parts to complete. Feel free to modify the case so that it works with the Raspberry Pi models B+ and 2. This boils down to moving around port openings (Ethernet, USB, HDMI, sensor ports, etc...) on the back and one side of the box. All 3D printing related files are checked into GitHub here. Please consider sharing your work.
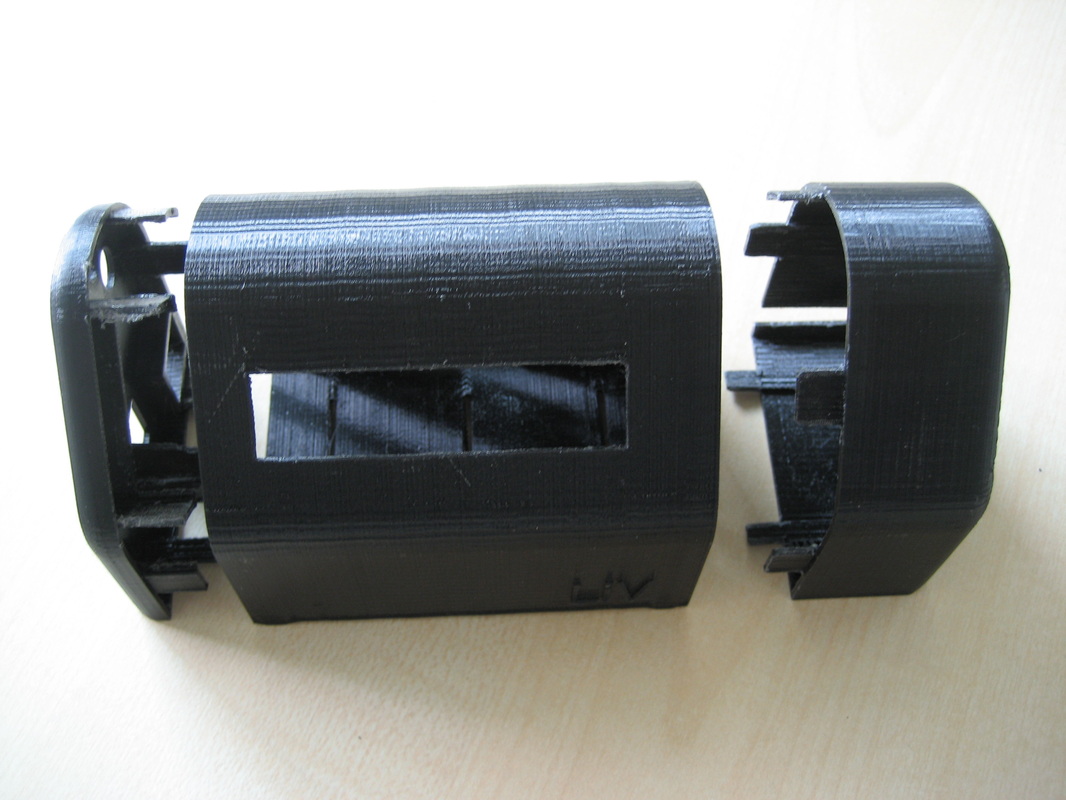
LiV case assembly
Step 1
Gently slide your Raspberry Pi model B with LiV expansion board inside the enclosure until it snaps in place. Make sure that all connectors and CO2 calibration switch on the back correspond to the right openings in the enclosure.
Gently slide your Raspberry Pi model B with LiV expansion board inside the enclosure until it snaps in place. Make sure that all connectors and CO2 calibration switch on the back correspond to the right openings in the enclosure.
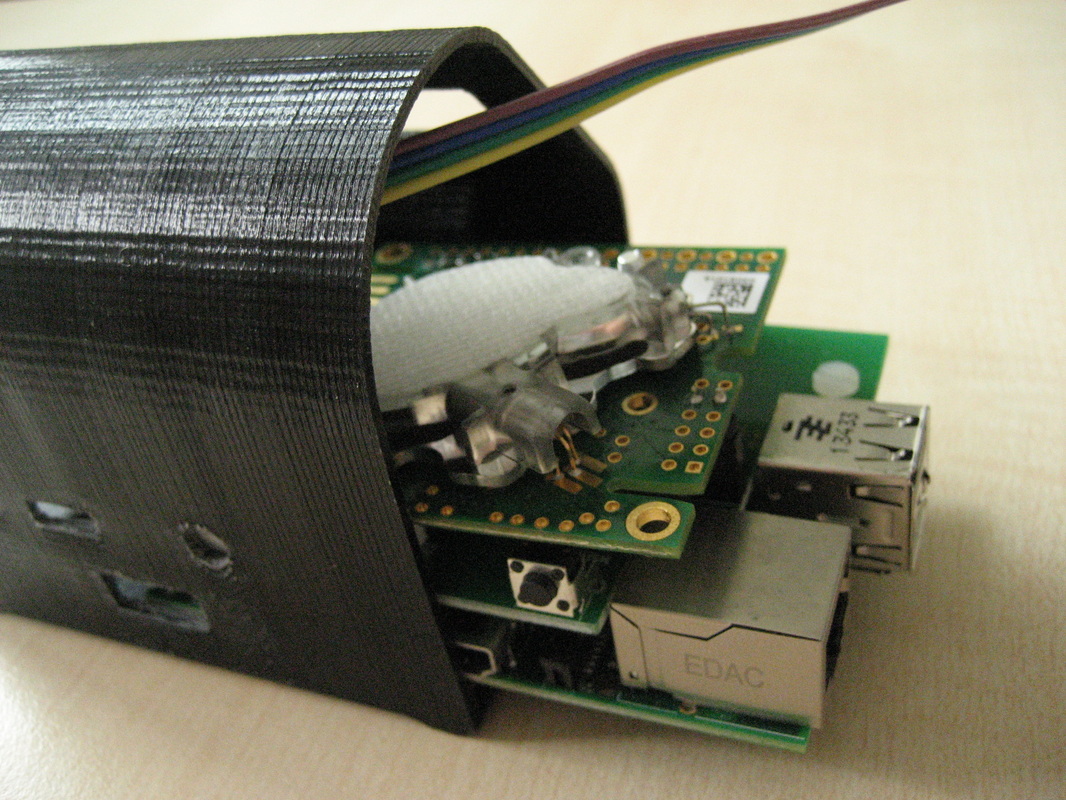
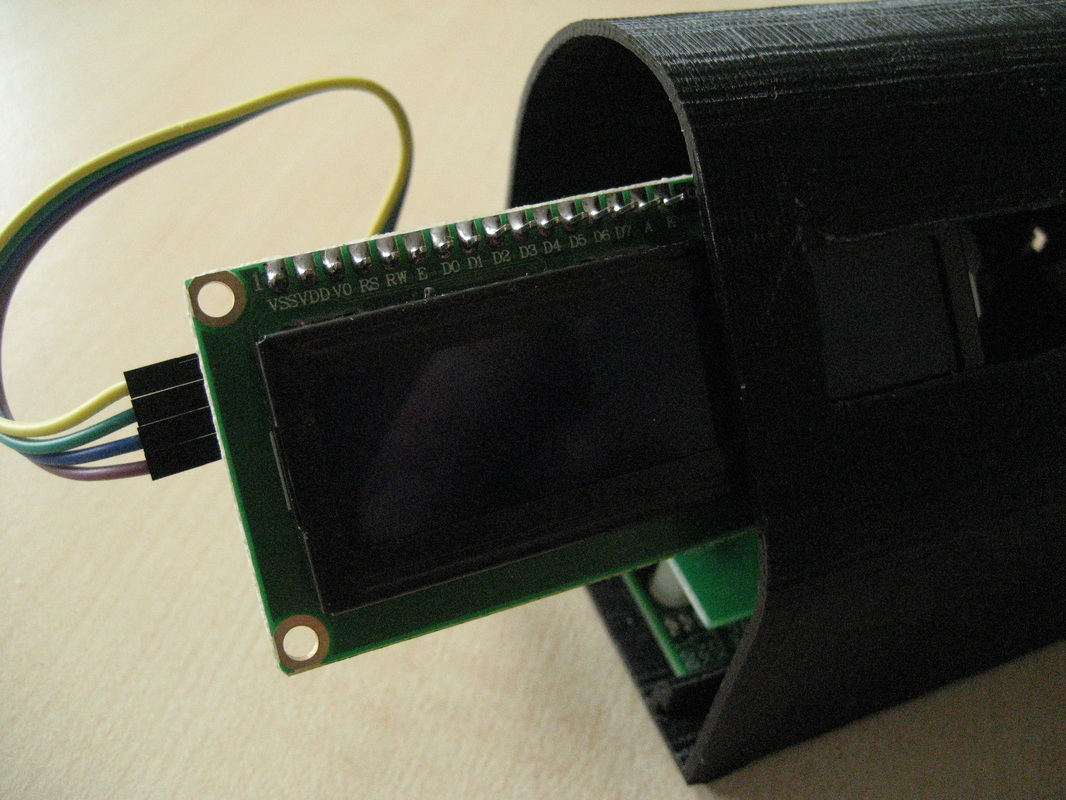
Step 2
Slide in the LCD screen.
Slide in the LCD screen.
Step 3
Connect the air pressure and temperature sensors. Insert SD card. Connect power supply cable.
Connect the air pressure and temperature sensors. Insert SD card. Connect power supply cable.

Step 4
Close the sides of the main enclosure with the side panels. Power up.
Close the sides of the main enclosure with the side panels. Power up.