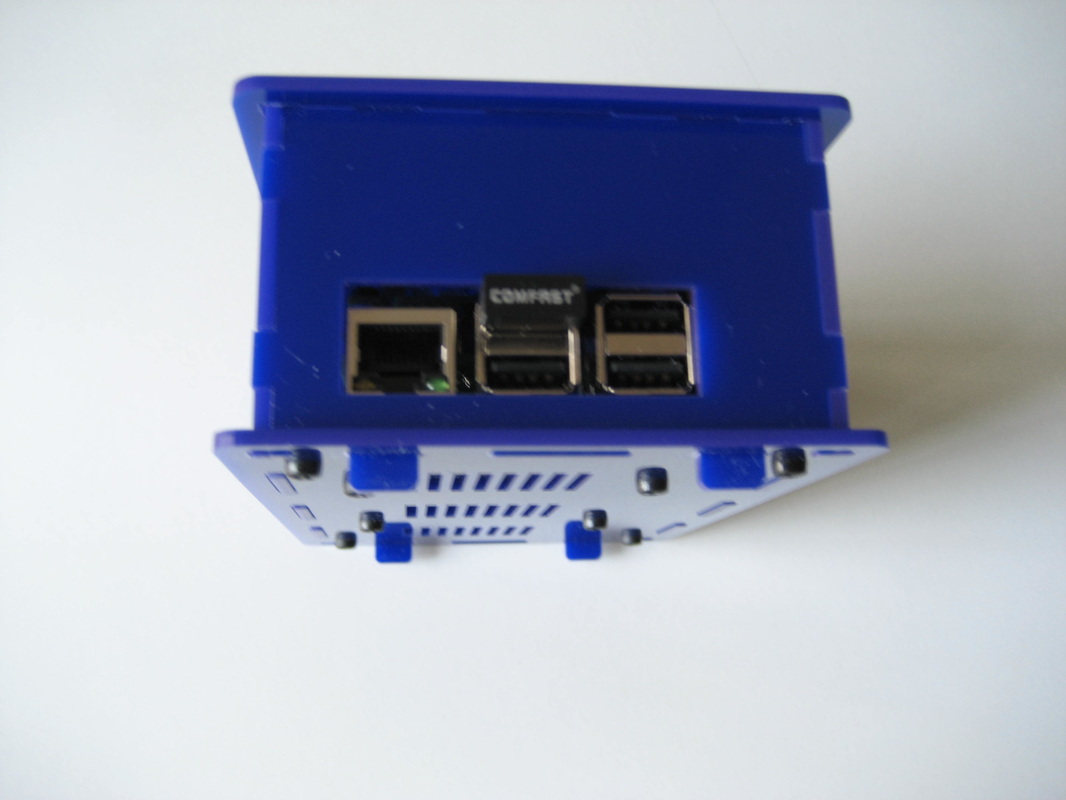
PLEASE ASSEMBLE AND TEST YOUR LIV PI DEVICE BEFORE YOU MOUNT IT INTO THE CASE.
Assembly instructions for Raspberry Pi 3, 2 and model B+.
Follow the instructions below when you assemble LiV Pi Device into the acrylic case.
Assembly instructions for Raspberry Pi 3, 2 and model B+.
Follow the instructions below when you assemble LiV Pi Device into the acrylic case.
Lay all case panels on a piece of cloth before assembly and handle them gently so you avoid scratching them.
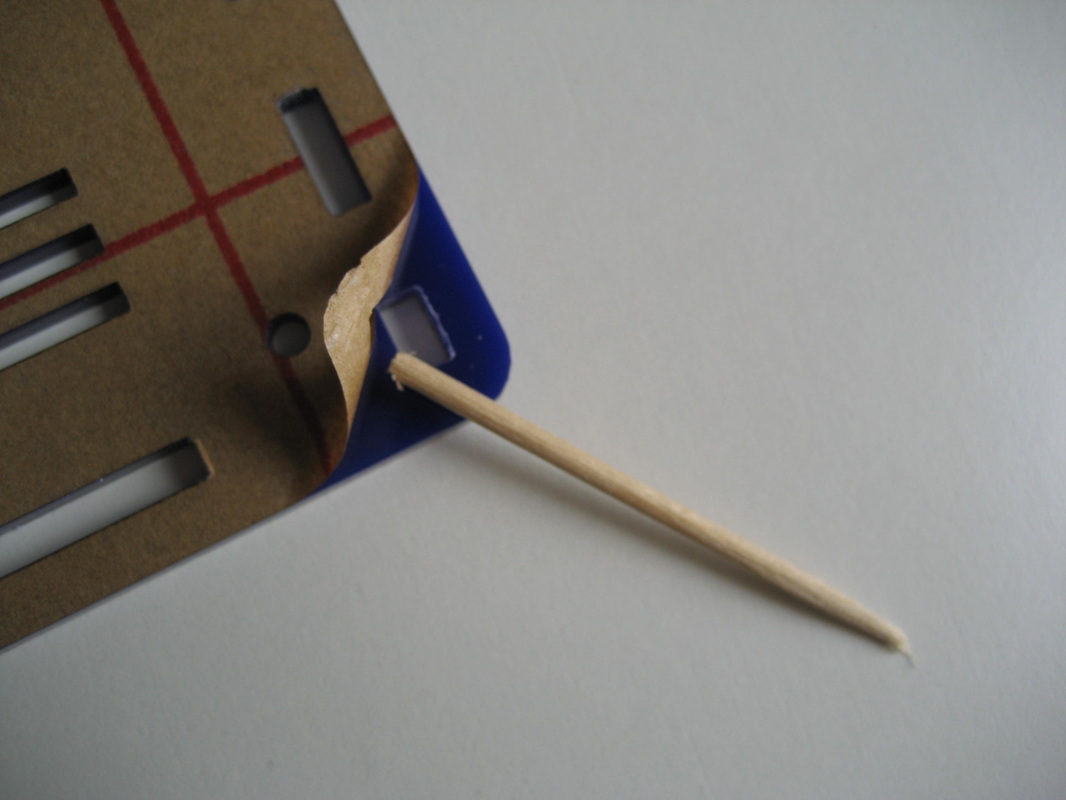
Remove protective paper from all panels first. Use a wood piece (e.g. tooth pick) to lift the paper from a corner of the panel. DO NOT USE METALLIC OR SHARP OBJECTS that could scratch the surface of the acrylic sheet. Start from a corner and gently peel the paper off the panel.
Handle panels with care. DO NOT USE EXCESSIVE FORCE when you try to make panels fit with each other but rather wiggle them gently and slightly move them up and down until they get into place. The panels fit tightly: you may need to use a small file to make some fine adjustments.
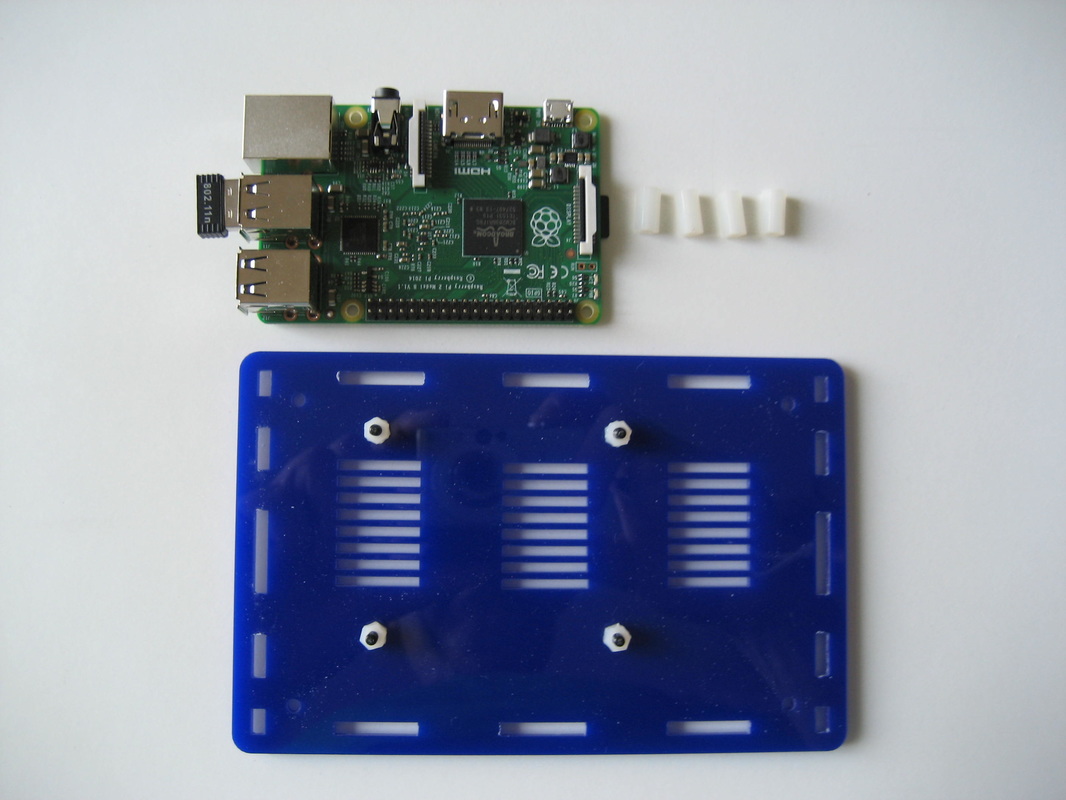
Step 1
Insert one M3 12mm screw in each mounting hole on the base panel. Secure each screw with two M3 nuts.
Insert one M3 12mm screw in each mounting hole on the base panel. Secure each screw with two M3 nuts.
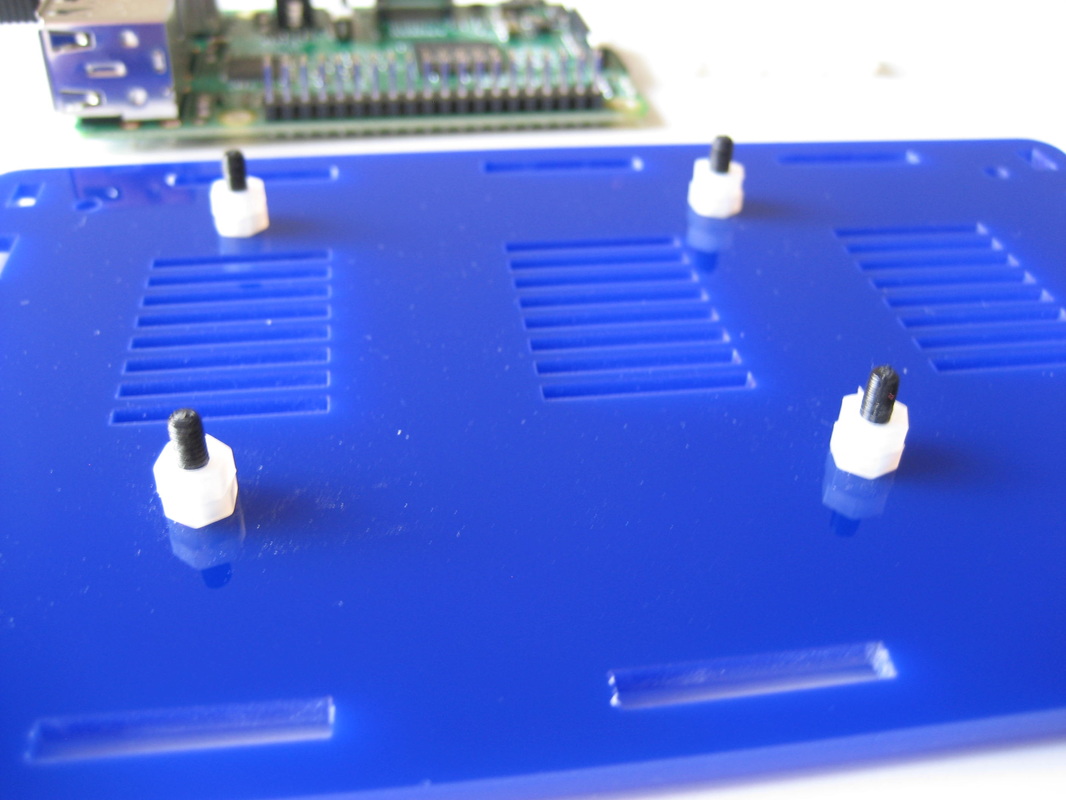
Step 2
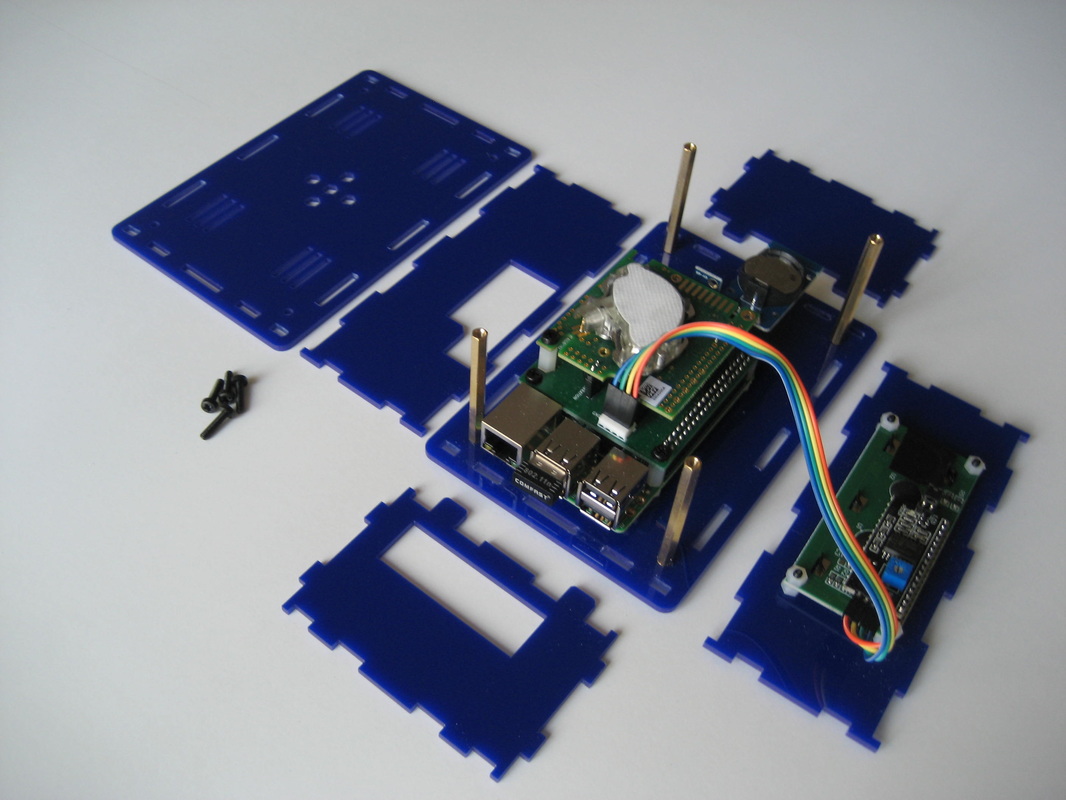
Mount Raspberry Pi on top of the four screws and secure with plastic standoffs. You need to enlarge the 2.75mm holes on your Raspberry Pi with a 3mm drill first. There's plenty of room around the RPi mounting holes, so this should be an easy task.

Step 3
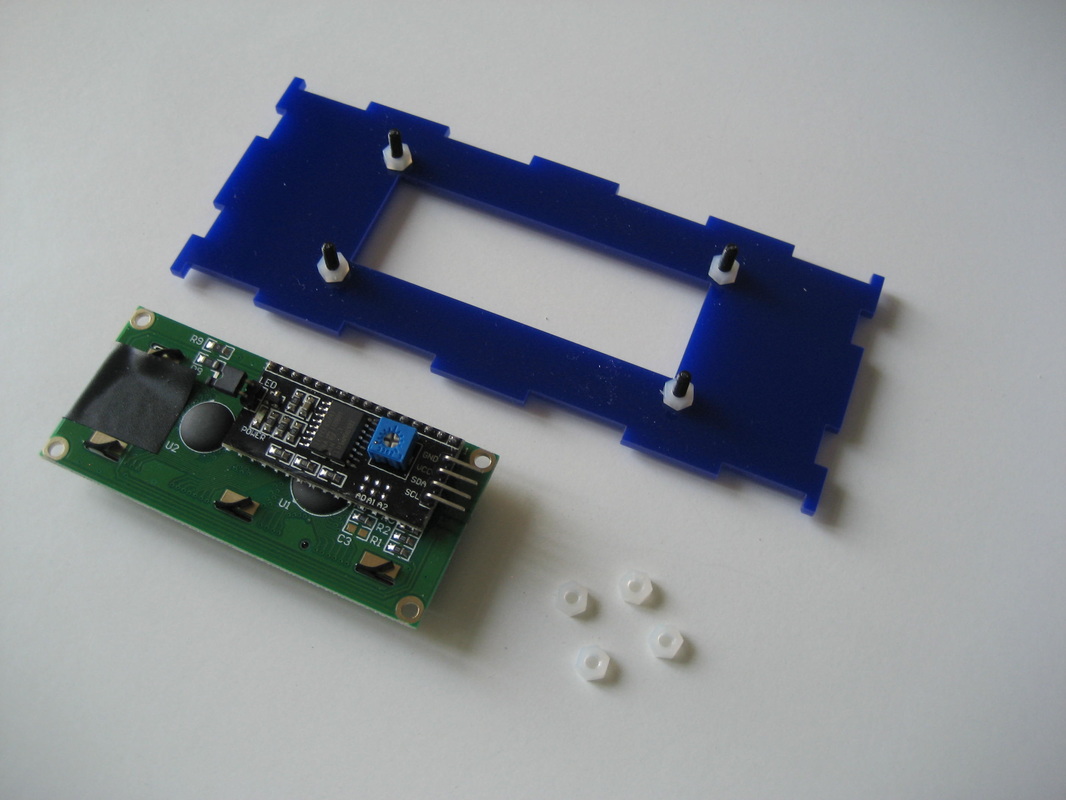
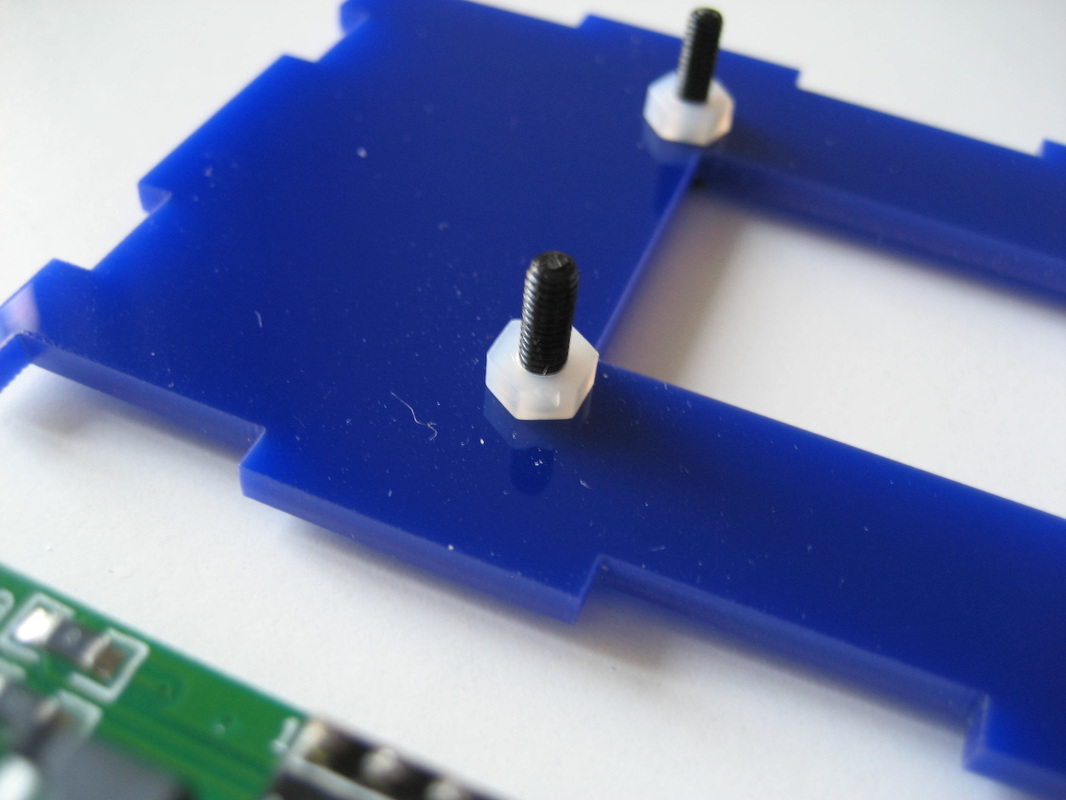
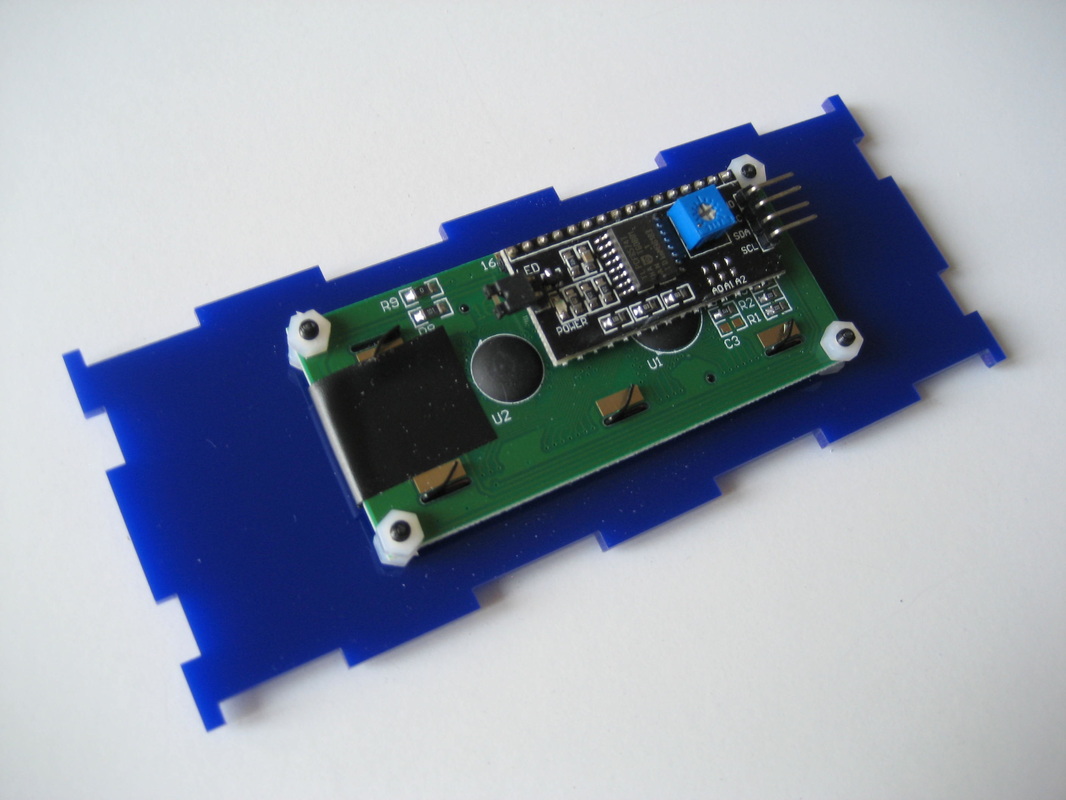
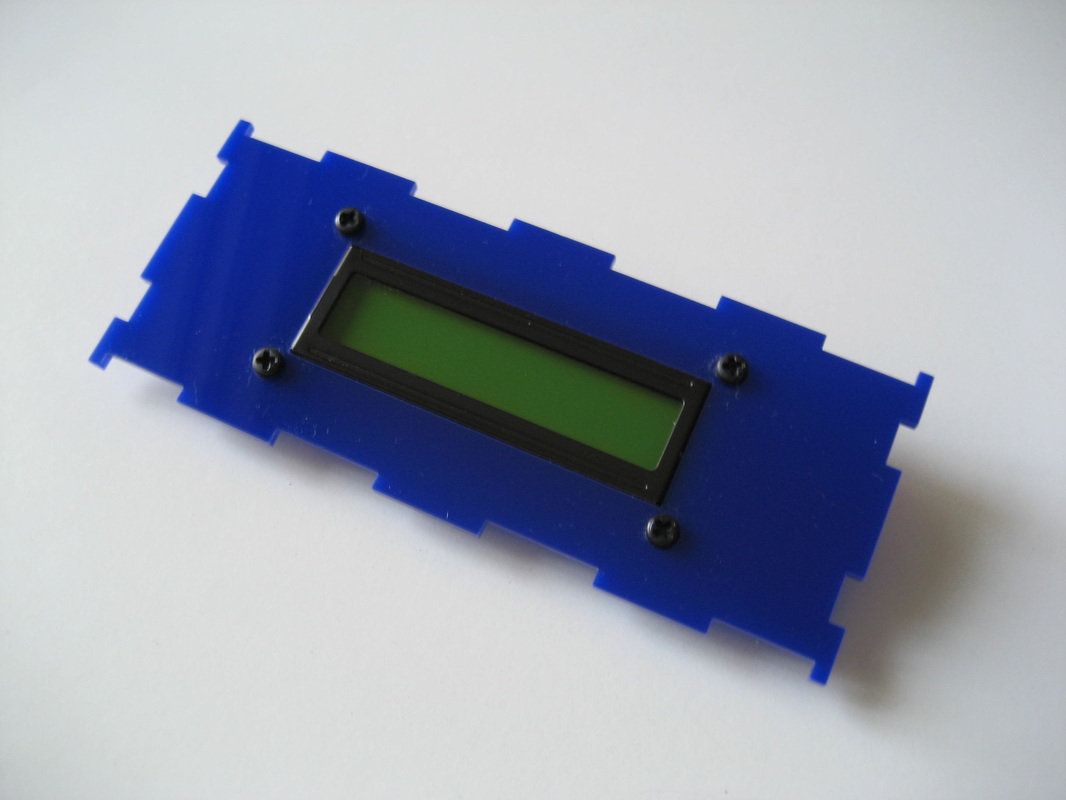
Insert an M3 12mm screw into each hole on the face panel and secure with one M3 nut. Mount the LCD display. Secure with anther nut. Use a black piece of tape to mask the LED on the front of the LCD screen, otherwise you will see the LED light through the front panel of your LiV Pi.
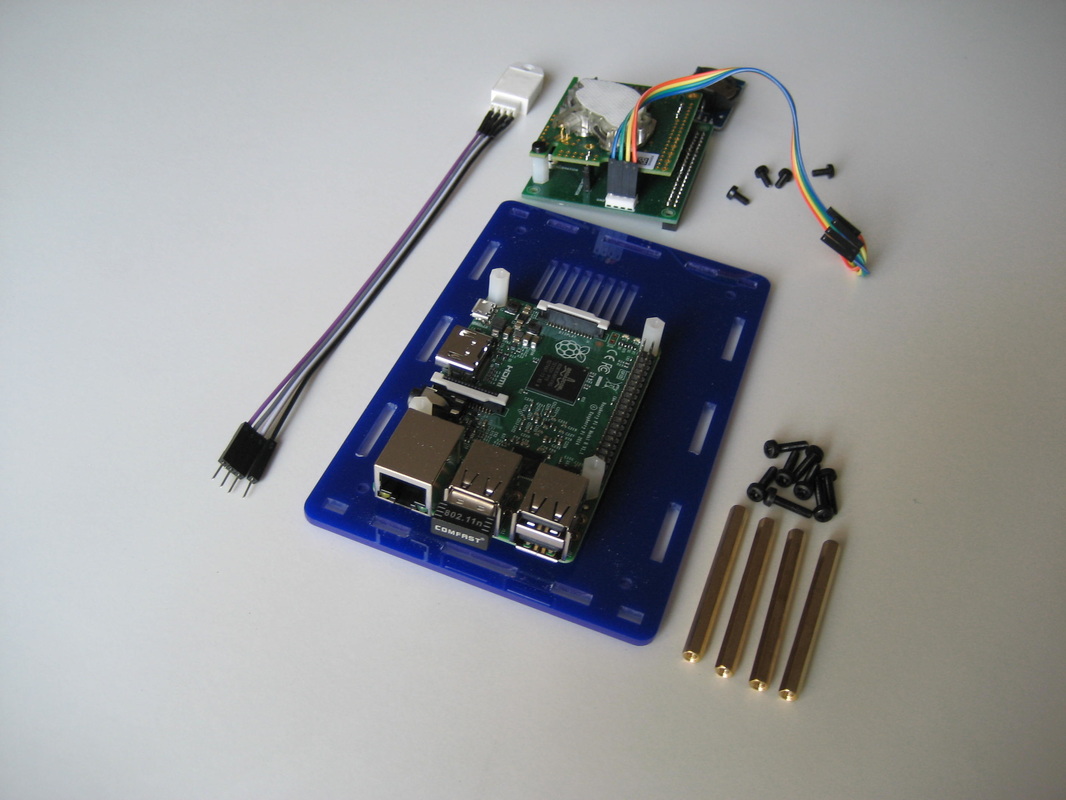
Step 4
- Mount LiV Pi board on top of Raspberry Pi. The CO2 sensor is already mounted on top of LiV Pi Board. Secure board with the four smaller M3 6mm screws.
- Connect LCD screen to LiV Pi board. This is a straight cable. Make sure the GND matches at both ends.
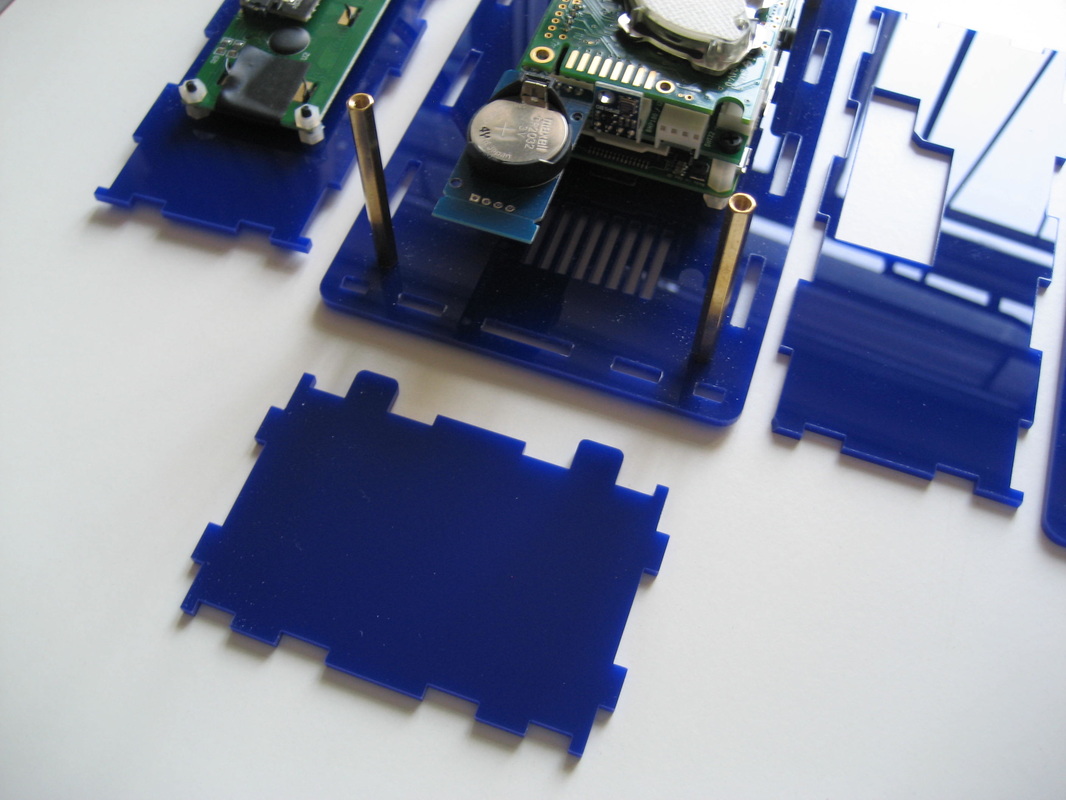
- Use four M3 12mm screws to mount brass standoffs.
- Insert DS3231 and BMP180 sensors into their connectors.
Step 5
- Gently push front, back, left and right panel into their openings on the base panel and make them fit. Do not use force or you would break the corners of the panels. This is a difficult task: you have to lift the base panel with one hand and use the other hand to add panels one a a time. If needed, use a small file to make adjustments in the areas that don't fit.
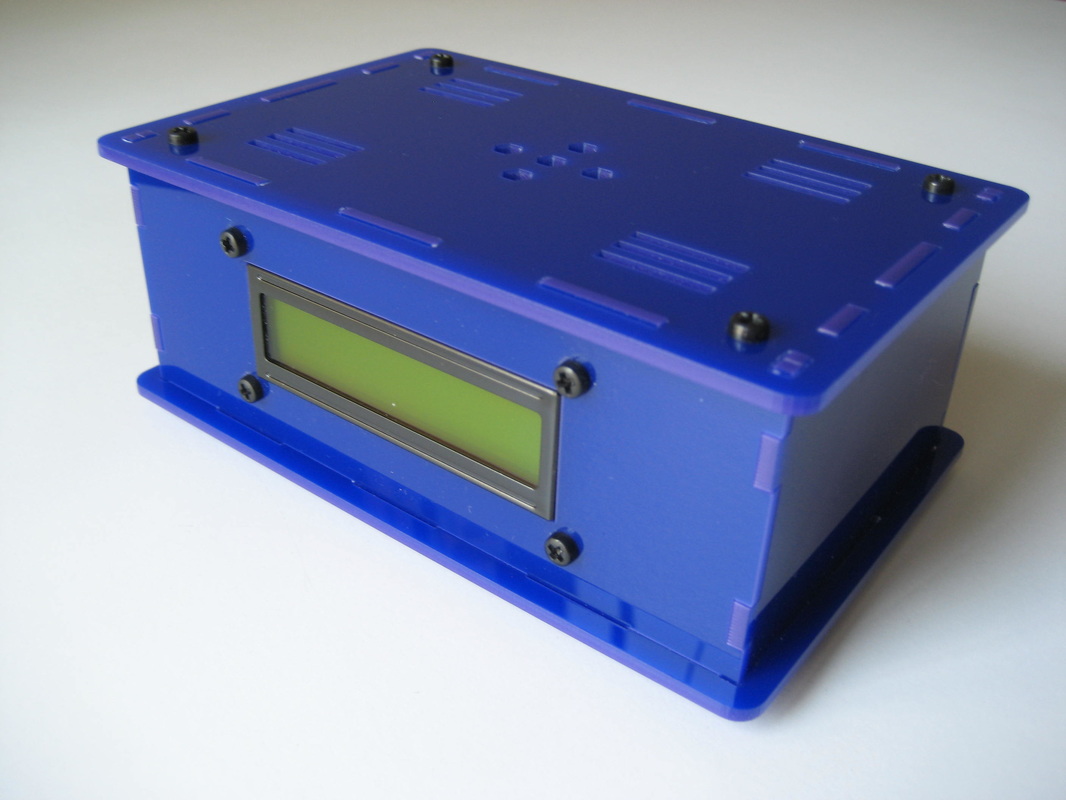
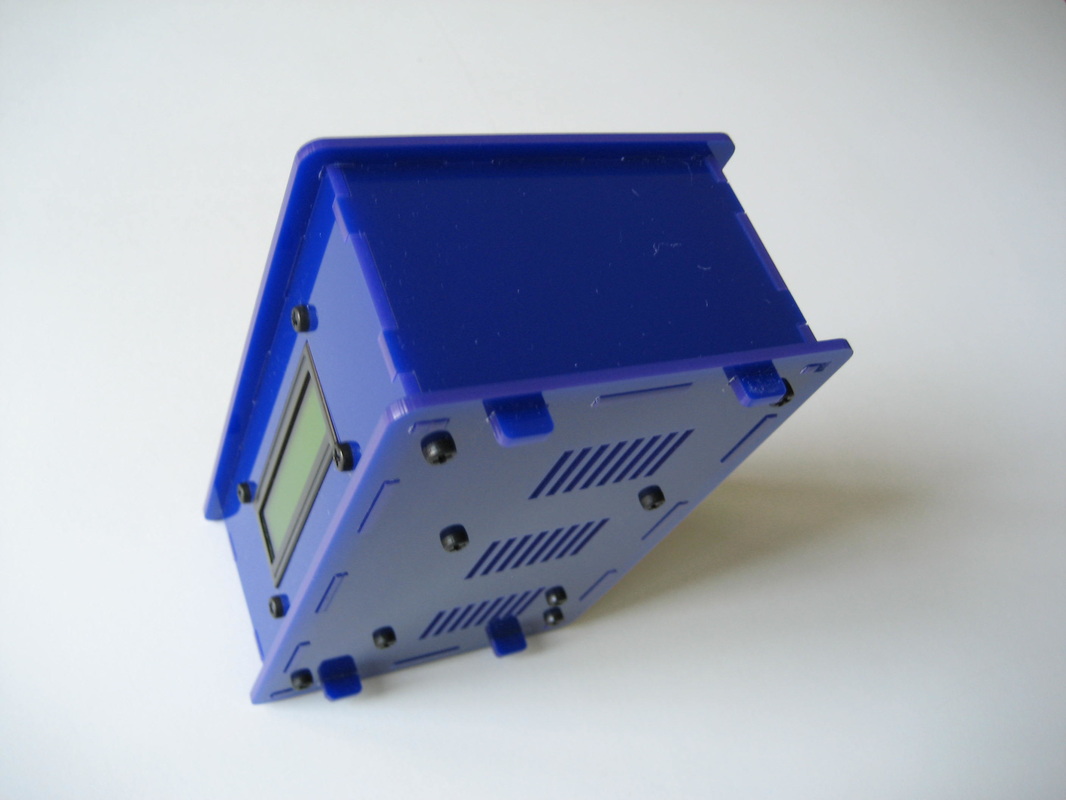
- Close case with top panel and secure it with four M3 12mm screws on top panel.
Step 6:
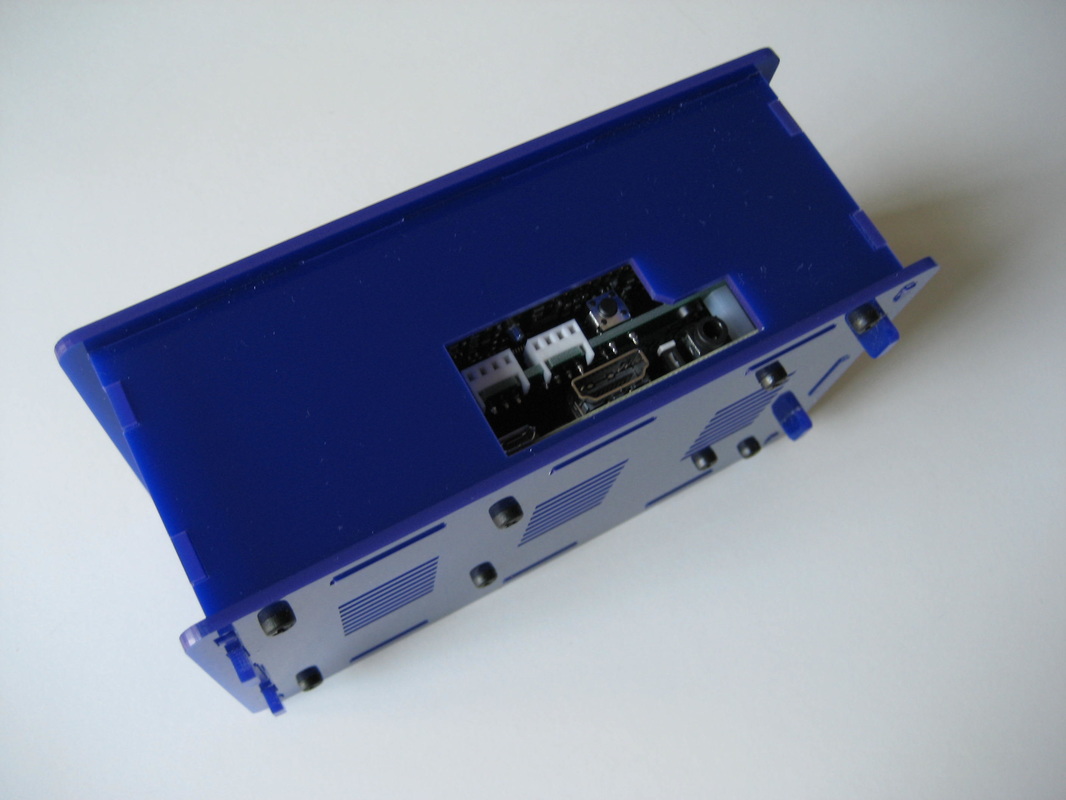
If DHT22 sensor is placed inside the case, you will get higher temperature readings (one or two C degrees) - due to the heat dissipated by Raspberry Pi. If you want more precise temperature measurements, connect DHT22 sensor outside the case using the 4 wire extension cable to the DHT22 port on the back of LiV Pi that is closer to the CO2 calibration switch. This is a straight cable, DHT22 should be oriented face down. Check that the sensor has the correct GPIO number configured in the "TEMP_HUMIDITY_SENSOR" section in the "livDB.config" file: gpio_no should be 17 if your DHT sensor is plugged outside the case into the connector close to the CO2 calibration switch, and it should be 27 if the DHT 22 sensor is plugged inside the case into the connector on the same side with the DS3231 module.
Please refer to next photo on how to mount the DHT 22 sensor on top of the case and secure it with one of the screws.

